8 Steps to Install Your Multiple Recessed Light
8 Steps to Install Your Multiple Recessed Light
Do you know how to install a multiple recessed light If you choose one?
There are only 8 steps to help you to do the easy installation.
STEP 1.
Calculate the amount of watts you can use without using too much power. If you have four existing light fixtures that use light bulbs with 100 watts each, you can safely install new light fixtures that have a combined total of 400 watts. If you plan to install more than what already exists, contact an electrician to determine how much the circuit can handle.
STEP 2.
Turn off the circuit power and lock out the panel or circuit so that it cannot be turned back on while you are completing the project.
STEP 3.
Drill a hole into the center of the planned opening according to the manufacturer's template, ensuring the hole has a 1/4-inch opening.
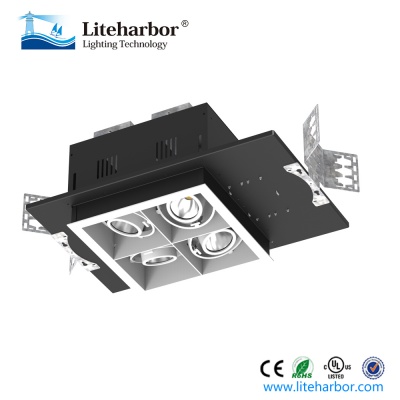 Liteharbor Model: GS4014
STEP 4.
Check for obstructions through the hole with a coat hanger if there is a finished area. If you have an attic above the ceiling, you can check for obstructions visually.
STEP 5.
Saw open the ceiling using the measurements that are appropriate for the specific light cans you have and disconnect the power source from the existing fixture.
STEP 6.
Pull the cable from the power source to the recessed light fixtures leaving 18 inches of wire hanging from the ceiling. This gives you enough room to work with the cables to wire the new fixtures. If you are working with a ceiling that has a finished area above it, drill holes through the joists and pull the wire through the actual framing. If you have an attic above your ceiling, simply run the wires through the attic.
STEP 7.
Wire the power source to the first light with wire pliers and connect the light to the cable that leads to the next light can and continue until you have all lights connected. Cap the connections of each set of wires with wire connectors. There should be three ground wires, three white wires and three black wires.
STEP 8.
Mount the light cans according to the manufacturer's instructions and trim the pieces as needed. Finish the project with screwing in the light bulbs and you have completed your Recessed Lighting project on your own.
More Multiple Recessed Lights >>> http://www.liteharborfactory.com/multiple-light/12/p2.html
Website: www.liteharborfactory.com
Email: info@liteharbor.com
 RESOURCE